'ZDNET Recommends': What exactly does it mean?
ZDNET's recommendations are based on many hours of testing, research, and comparison shopping. We gather data from the best available sources, including vendor and retailer listings as well as other relevant and independent reviews sites. And we pore over customer reviews to find out what matters to real people who already own and use the products and services we’re assessing.
When you click through from our site to a retailer and buy a product or service, we may earn affiliate commissions. This helps support our work, but does not affect what we cover or how, and it does not affect the price you pay. Neither ZDNET nor the author are compensated for these independent reviews. Indeed, we follow strict guidelines that ensure our editorial content is never influenced by advertisers.
ZDNET's editorial team writes on behalf of you, our reader. Our goal is to deliver the most accurate information and the most knowledgeable advice possible in order to help you make smarter buying decisions on tech gear and a wide array of products and services. Our editors thoroughly review and fact-check every article to ensure that our content meets the highest standards. If we have made an error or published misleading information, we will correct or clarify the article. If you see inaccuracies in our content, please report the mistake via this form.
How to get your iPhone ready for the new iOS 16

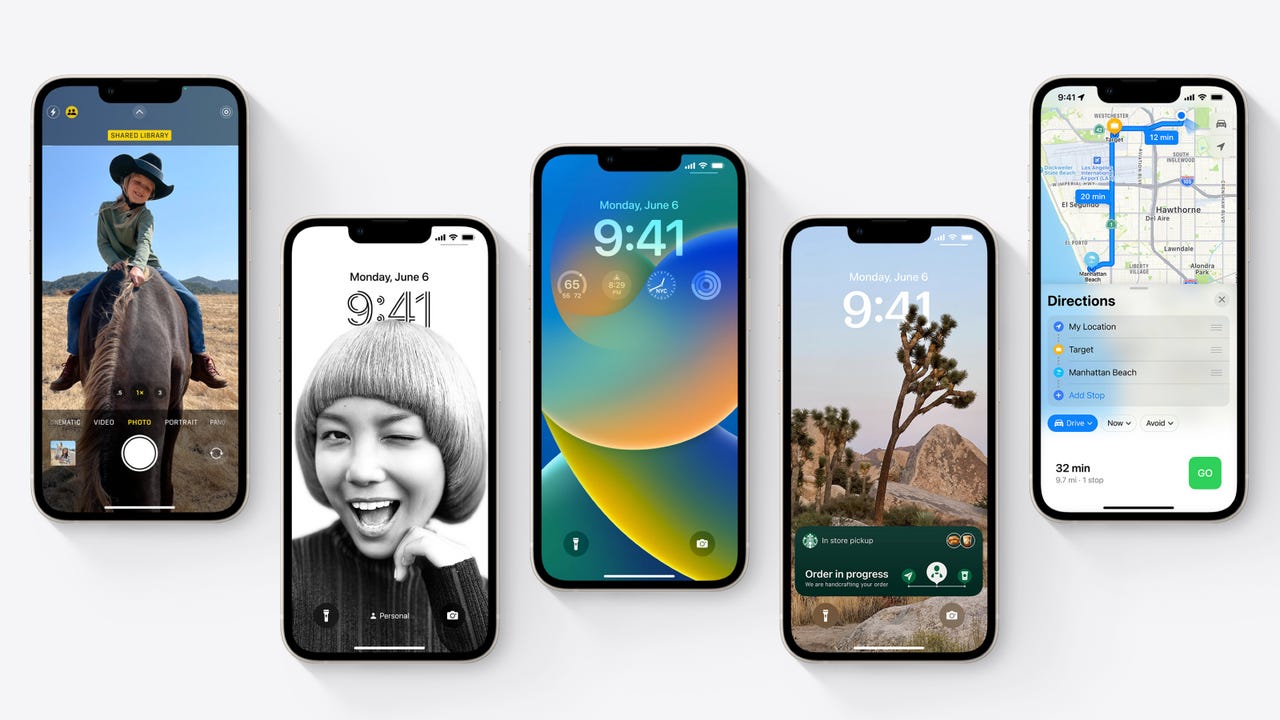
iOS 16 will be released shortly.
And while most will blindly hit install, I like to take a few precautionary steps to make sure that the process goes smoothly and I don't end up losing data.
After all, data loss is one sure way to put a massive damper on the excitement of a new iOS release.
Also: How to use iOS 16's hidden Photoshop-like feature (and why you're going to love it)
Step 1: Find out if your iPhone will get iOS 16
Here are the iPhones that will be able to run iOS 16:
- iPhone 13 / 13 mini / 13 Pro / 13 Pro Max
- iPhone SE (2nd generation)
- iPhone 12 / 12 mini / 12 Pro / 12 Pro Max
- iPhone 11 / 11 Pro / 11 Pro Max
- iPhone XS / XS Max
- iPhone XR
- iPhone X
- iPhone 8 / 8 Plus
Step 2: Decide if you want to wait
New iOS releases can be somewhat buggy, and if you're someone who totally relies on your iPhone, then the safest course of action for you is to delay the update for a few days so you can see just how buggy this release is or maybe even wait for the inevitable iOS 16.0.1 bugfix release that will be roll out soon after.
However, you do need to make sure that your iPhone isn't going to automatically update itself during that time. Head over to Settings > General > Software Update and turn off Automatic Updates until you are ready to update.
Step 3: Update apps and free up space
I recommend updating all your apps if you're the sort of person who has disabled automatic updates and forgets to do it manually. Running older apps on the new release could cause glitches and issues.
It's also a good idea to make space before installing a new update. The run-up to a new iOS release is a good time to get rid of any apps that you're not using anymore and that's a good and pain-free way to free up some space.
You need at least a gigabyte to carry out an update, and ideally, two or three gigabytes of free space is best because that will speed up the update process. Any less than this, and your iPhone will have to do a lot of housekeeping to make that space (iOS updates can delete apps to make space to install the update and then redownload the apps, but this makes the update take a lot of time).
Step 4: Create a backup
I recommend having two backups of your data -- one in the cloud in case things go bad and one on a PC or Mac in case things go really bad.
Details on how to do this can be found here.
Don't think you need to do this? OK, imagine that your iPhone is erased right now. Have you lost anything important? If the answer is yes, you need to make at least one backup.
Step 5: Gather your passwords
Don't rely on passwords that only exist on your iPhone.
Following the upgrade, you'll need to enter your iCloud password to be able to reconnect to all your data and apps and photos. If you don't have that password close at hand -- remember, having it on the device you're upgrading doesn't work -- then this is a good time to fix that.
Don't know what it is? Now might be the time to reset it.
Also, if your local backup is encrypted, then remember you'll need that password if something goes wrong. Makes sure that's also saved somewhere other than on your iPhone.
Step 6: Do these two things to make your iOS update go smoother
- Have a charger handy
- Be on a reliable internet connection
While you can update iOS as long as you have more than 50% battery left, it's better to be safe than sorry, because running out of power mid-update wouldn't be good.
And while it is possible to update an iPhone over a sketchy internet connection, it's way better and less frustrating to do it over a good connection.